


I am so excited to be a part of Ellie Inspired's 12 days of Christmas!
You heard it here, folks: Mustaches are old news. Santa beards are all the rage. My little ones agree and have had a blast today pulling this thing on and off. The Christmas spirit is alive and well, my friends! My oldest even ventured to wear it outside while he road his bike (oh, please never grow up! I love these moments!). When our little neighbor girl saw him she excitedly asked, "Oh! Did Santa give that to you?!" Yup. That's how cool we are. Now your kid can be cool too because I'm including a tutorial and free pattern for you below! Enjoy! And be sure to post photos of your little Santas on our Facebook page! We love to see what you're doing!
DIY Santa Beard
Supplies: 5 pieces of cream or white felt, a little stuffing and some elastic.
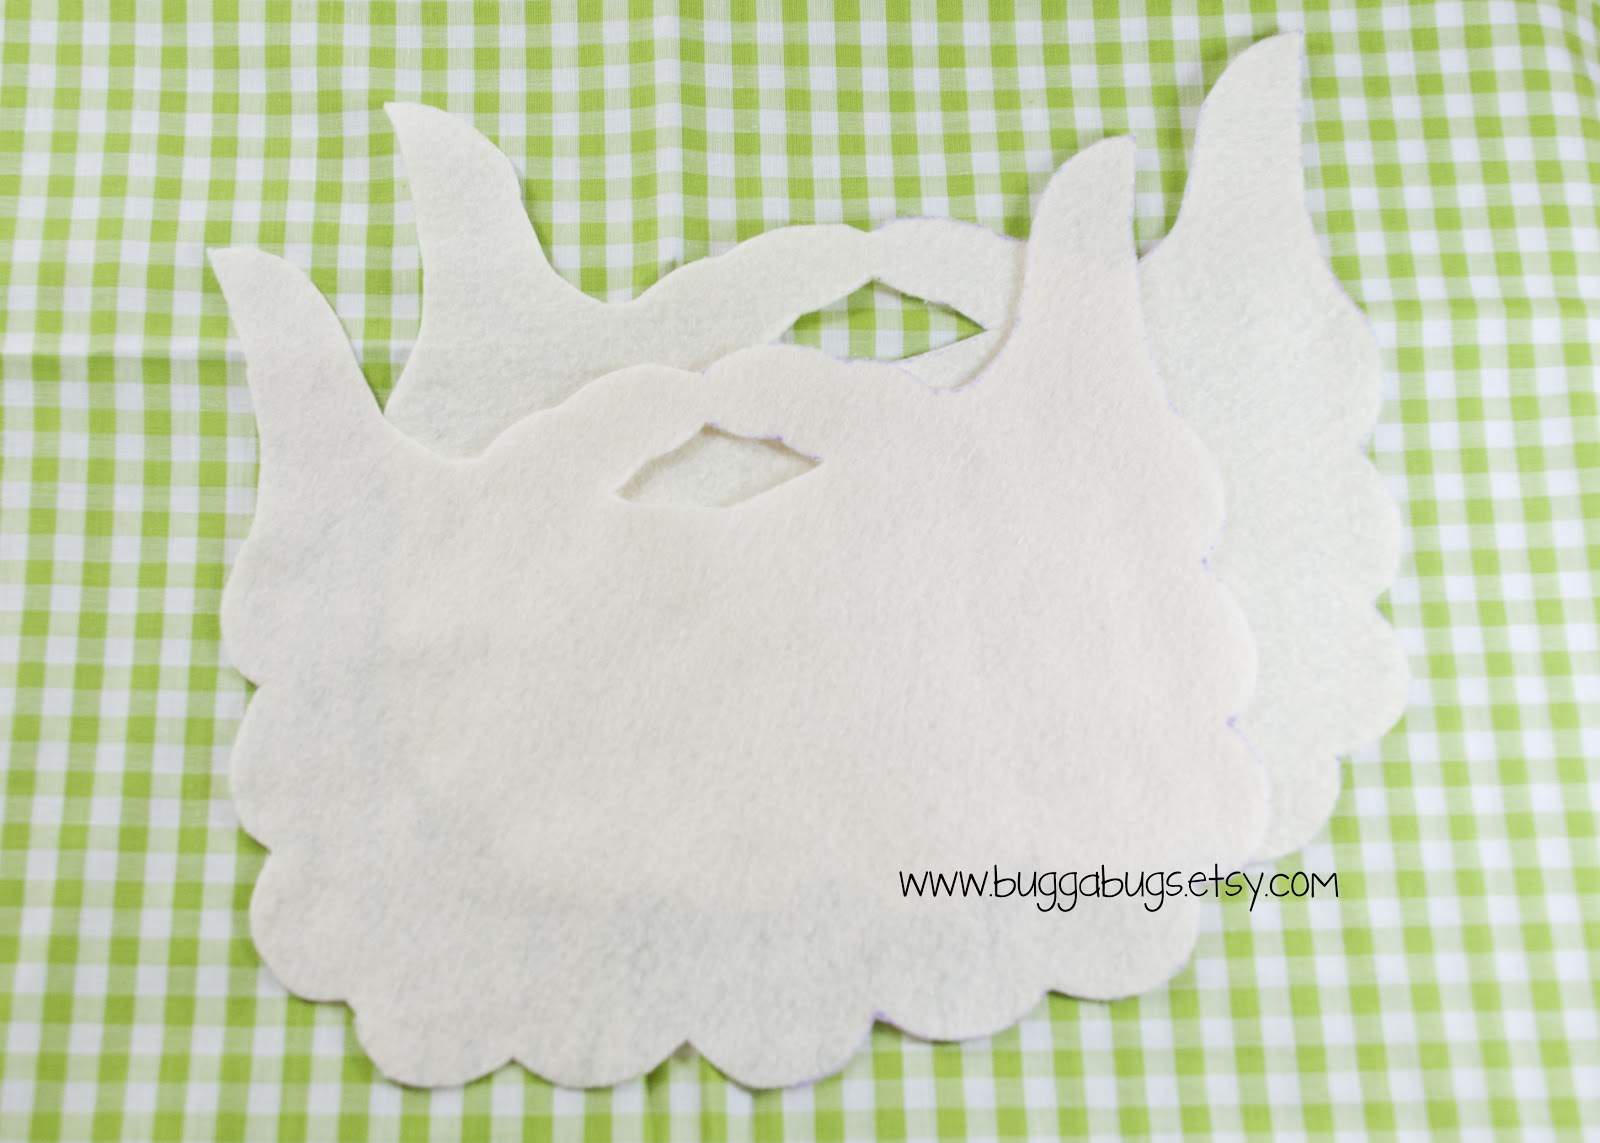
1. First, cut out your beard pieces.

2. Next, cut out your mustache and detail pieces and place them in stacks of three (largest on bottom, smallest on top)

3. Get a piece of thin elastic and wrap it behind your kiddo's head from sideburn to sideburn (right in front of the ears).

4. Sandwich the elastic ends between the beard pieces at the very top. Sew around the edges of the beard. I like to sew over the elastic a couple of times just to reinforce things. Leave the mouth open for now.

5. Fill the bottom of the beard lightly with a small amount of stuffing. This adds a bit more fullness and dimension. Sew around the edges of the mouth. Almost done! Really, though, you could be done here if you'd like. It's super cute as is. Me? I'm all for details!

6. Double thread your needle and pull it through the back beard piece until your knot stops under the top beard piece (so you don't see stitching on the back of the beard). Pull your thread through a stack of detail circles and then back down through them.

7. Bring your needle through to the next bubble on the outer edge of the beard and start your next stack.

8. Complete the outer edge first using 11 circle stacks.

9. Fill in the rest row by row - staggering the stacks as you go. Leave the mustache circle free.

10. Place your mustache stack appropriately and carefully secure to the beard by stitching down the center. You can add more stitches but I like the individual pieces to be able to flop around. It adds to the whimsy.

Strap it on your kiddo and send them out to enjoy. Ho-Ho-Ho!
Stay tuned! I think a matching hat is in order (with a special twist you won't want to miss)!

Be sure to check out Birdsong tomorrow for even more 12 Days of Christmas fun!


6 comments:
OHMIGOD! That is hilarious! Somehow I will fit that into my sewing schedule. Granddad will love it!
Annika...You are soooo awesome. I luckily have some spare time today (a rare occurance) and am making 4 of these today. I have been wanting to make some beards for my kids when we do the secret santa for friends. They are so excited to add this to the fun! Thank you so much for sharing!!!!
www.craftynightowls.blogspot.com
Thank you very much for the free pattern. What a lovely gesture :o)
I have seen so many fab makes this year out of felt, but this, this is my absolute all time favourite! A genius idea and so lovely of you to share it with all of us! I shall be making one of these for sure!
Thank you so much
Dazie
x
This is hilarious! I love it! I don't know if I'll have to make it this year, but I pinned it to remember for next year (or make after Christmas so itwill be ready for next!) Thanks!
Thank you so much for your generosity! I have quite a few of your patterns, but this one is perfect for a Christmas-obsessed teacher at the kids preschool! Thanks so much!
Post a Comment